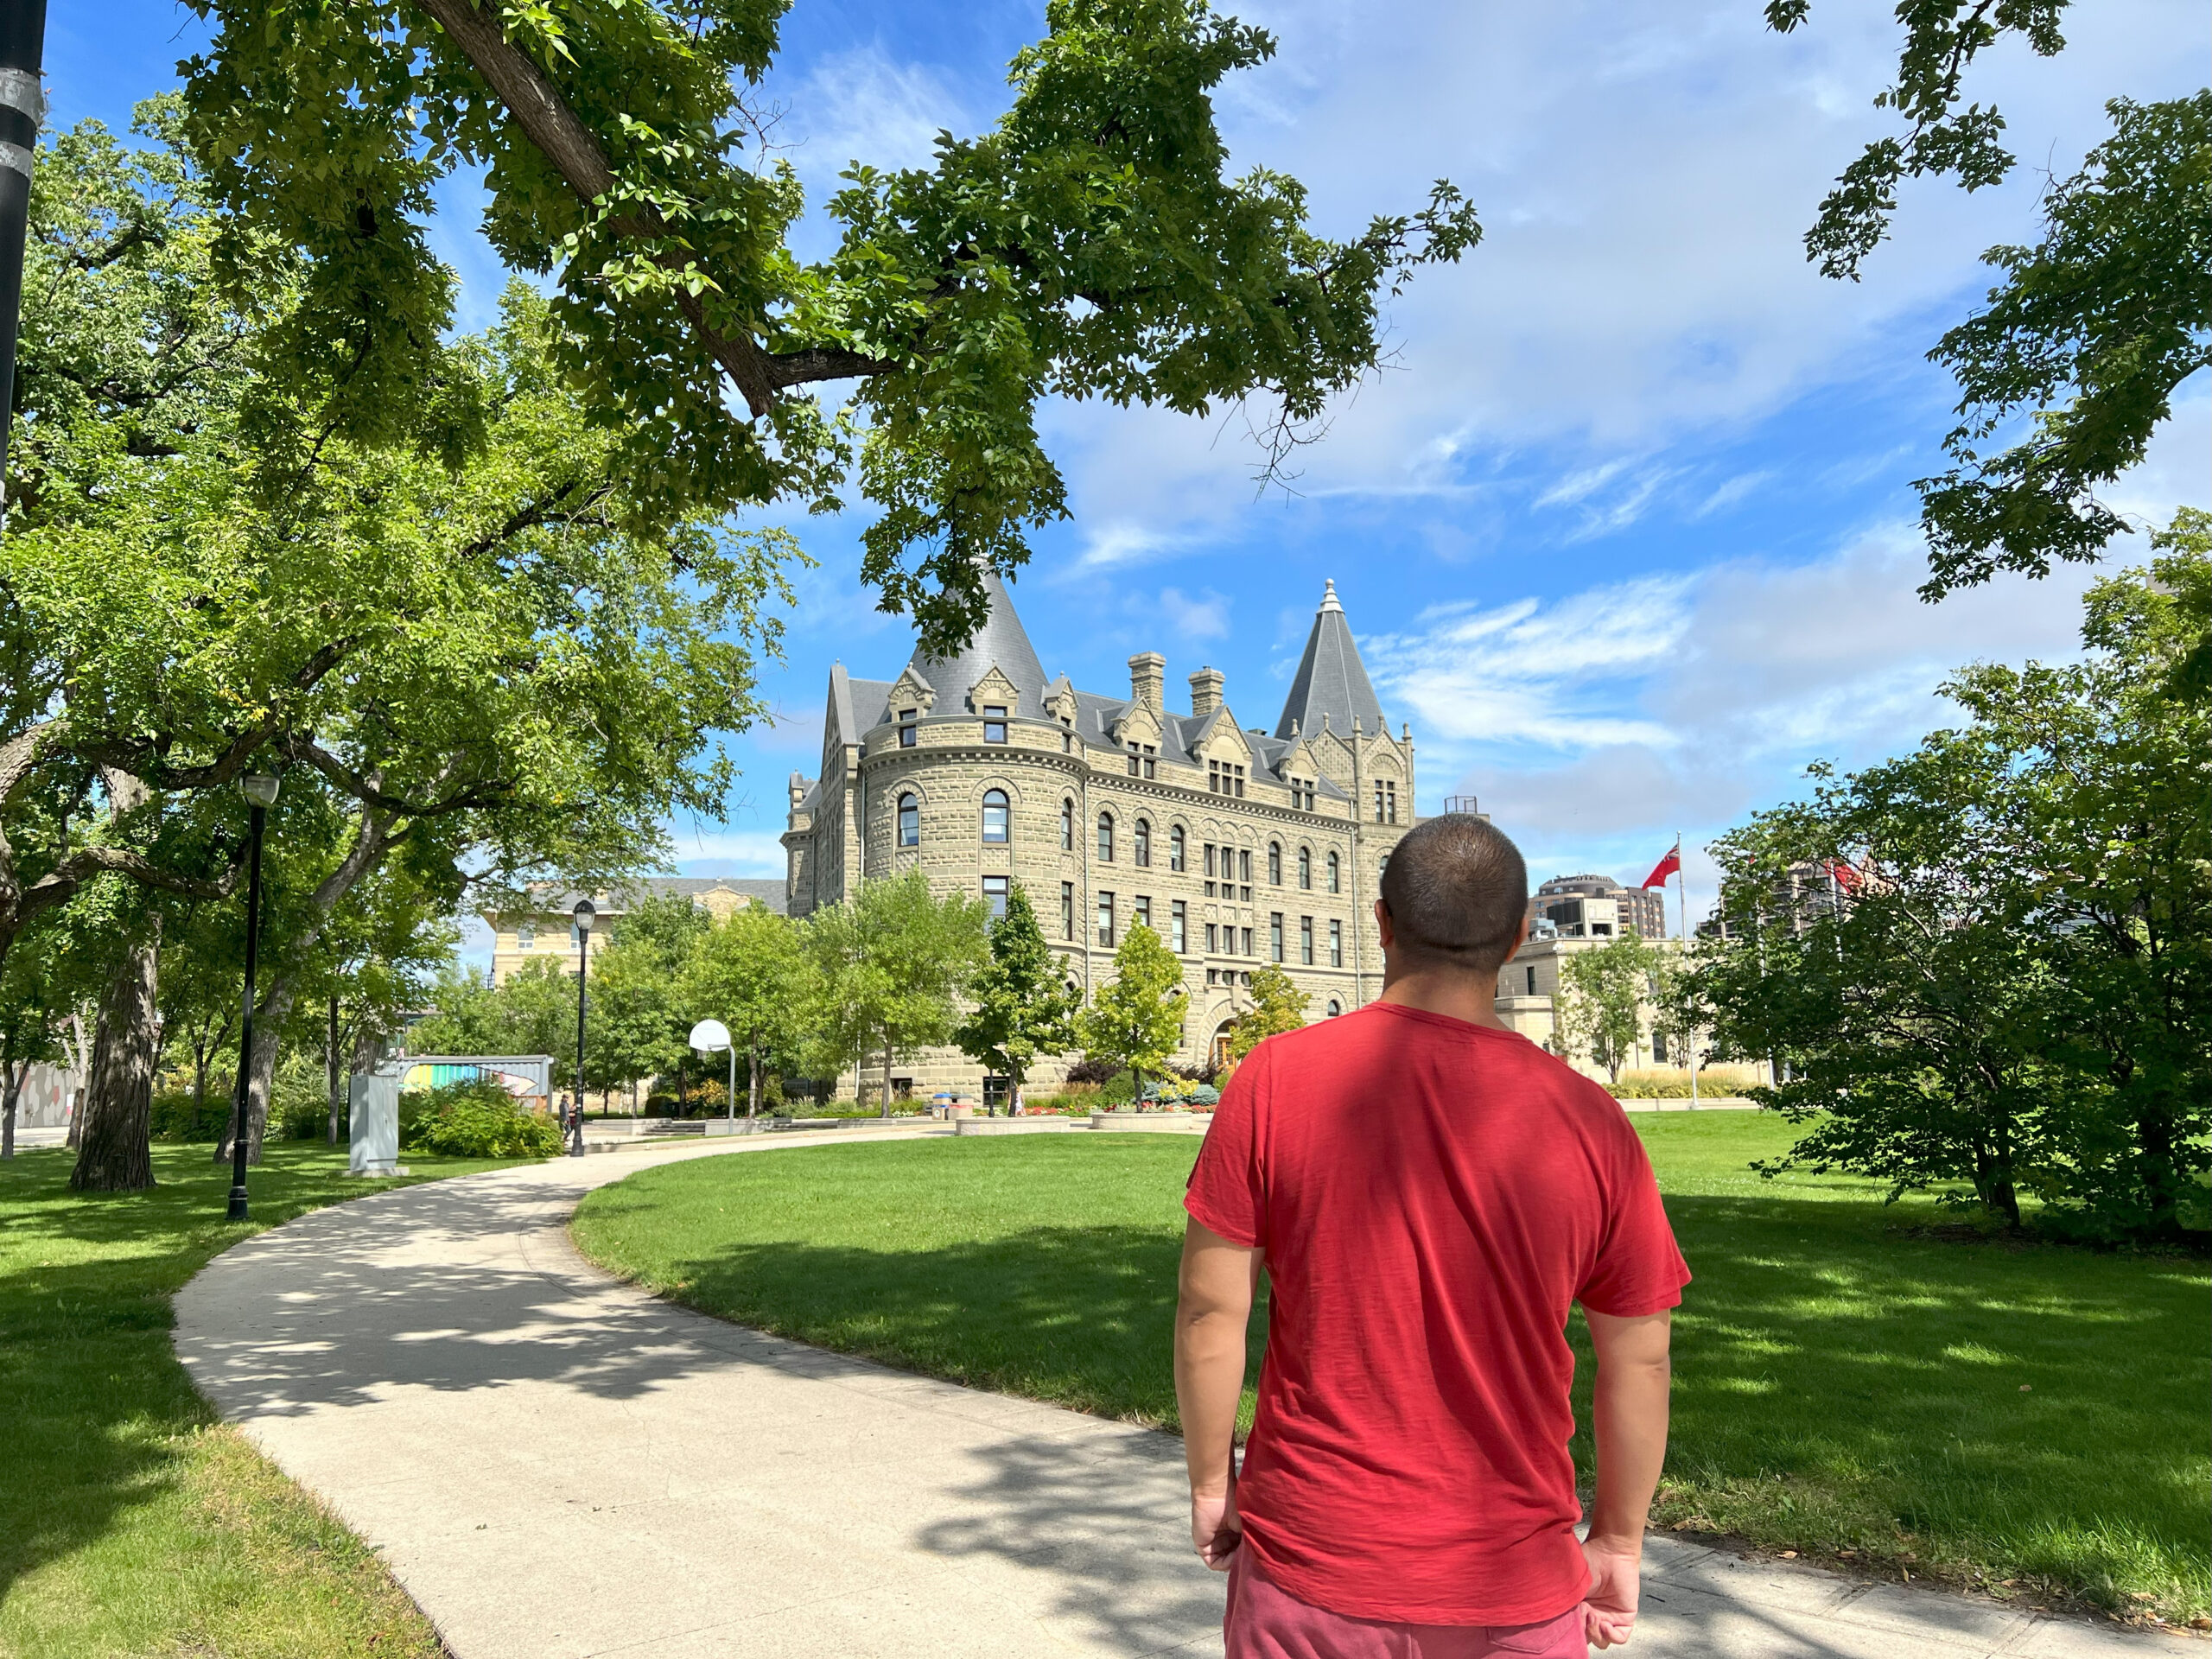
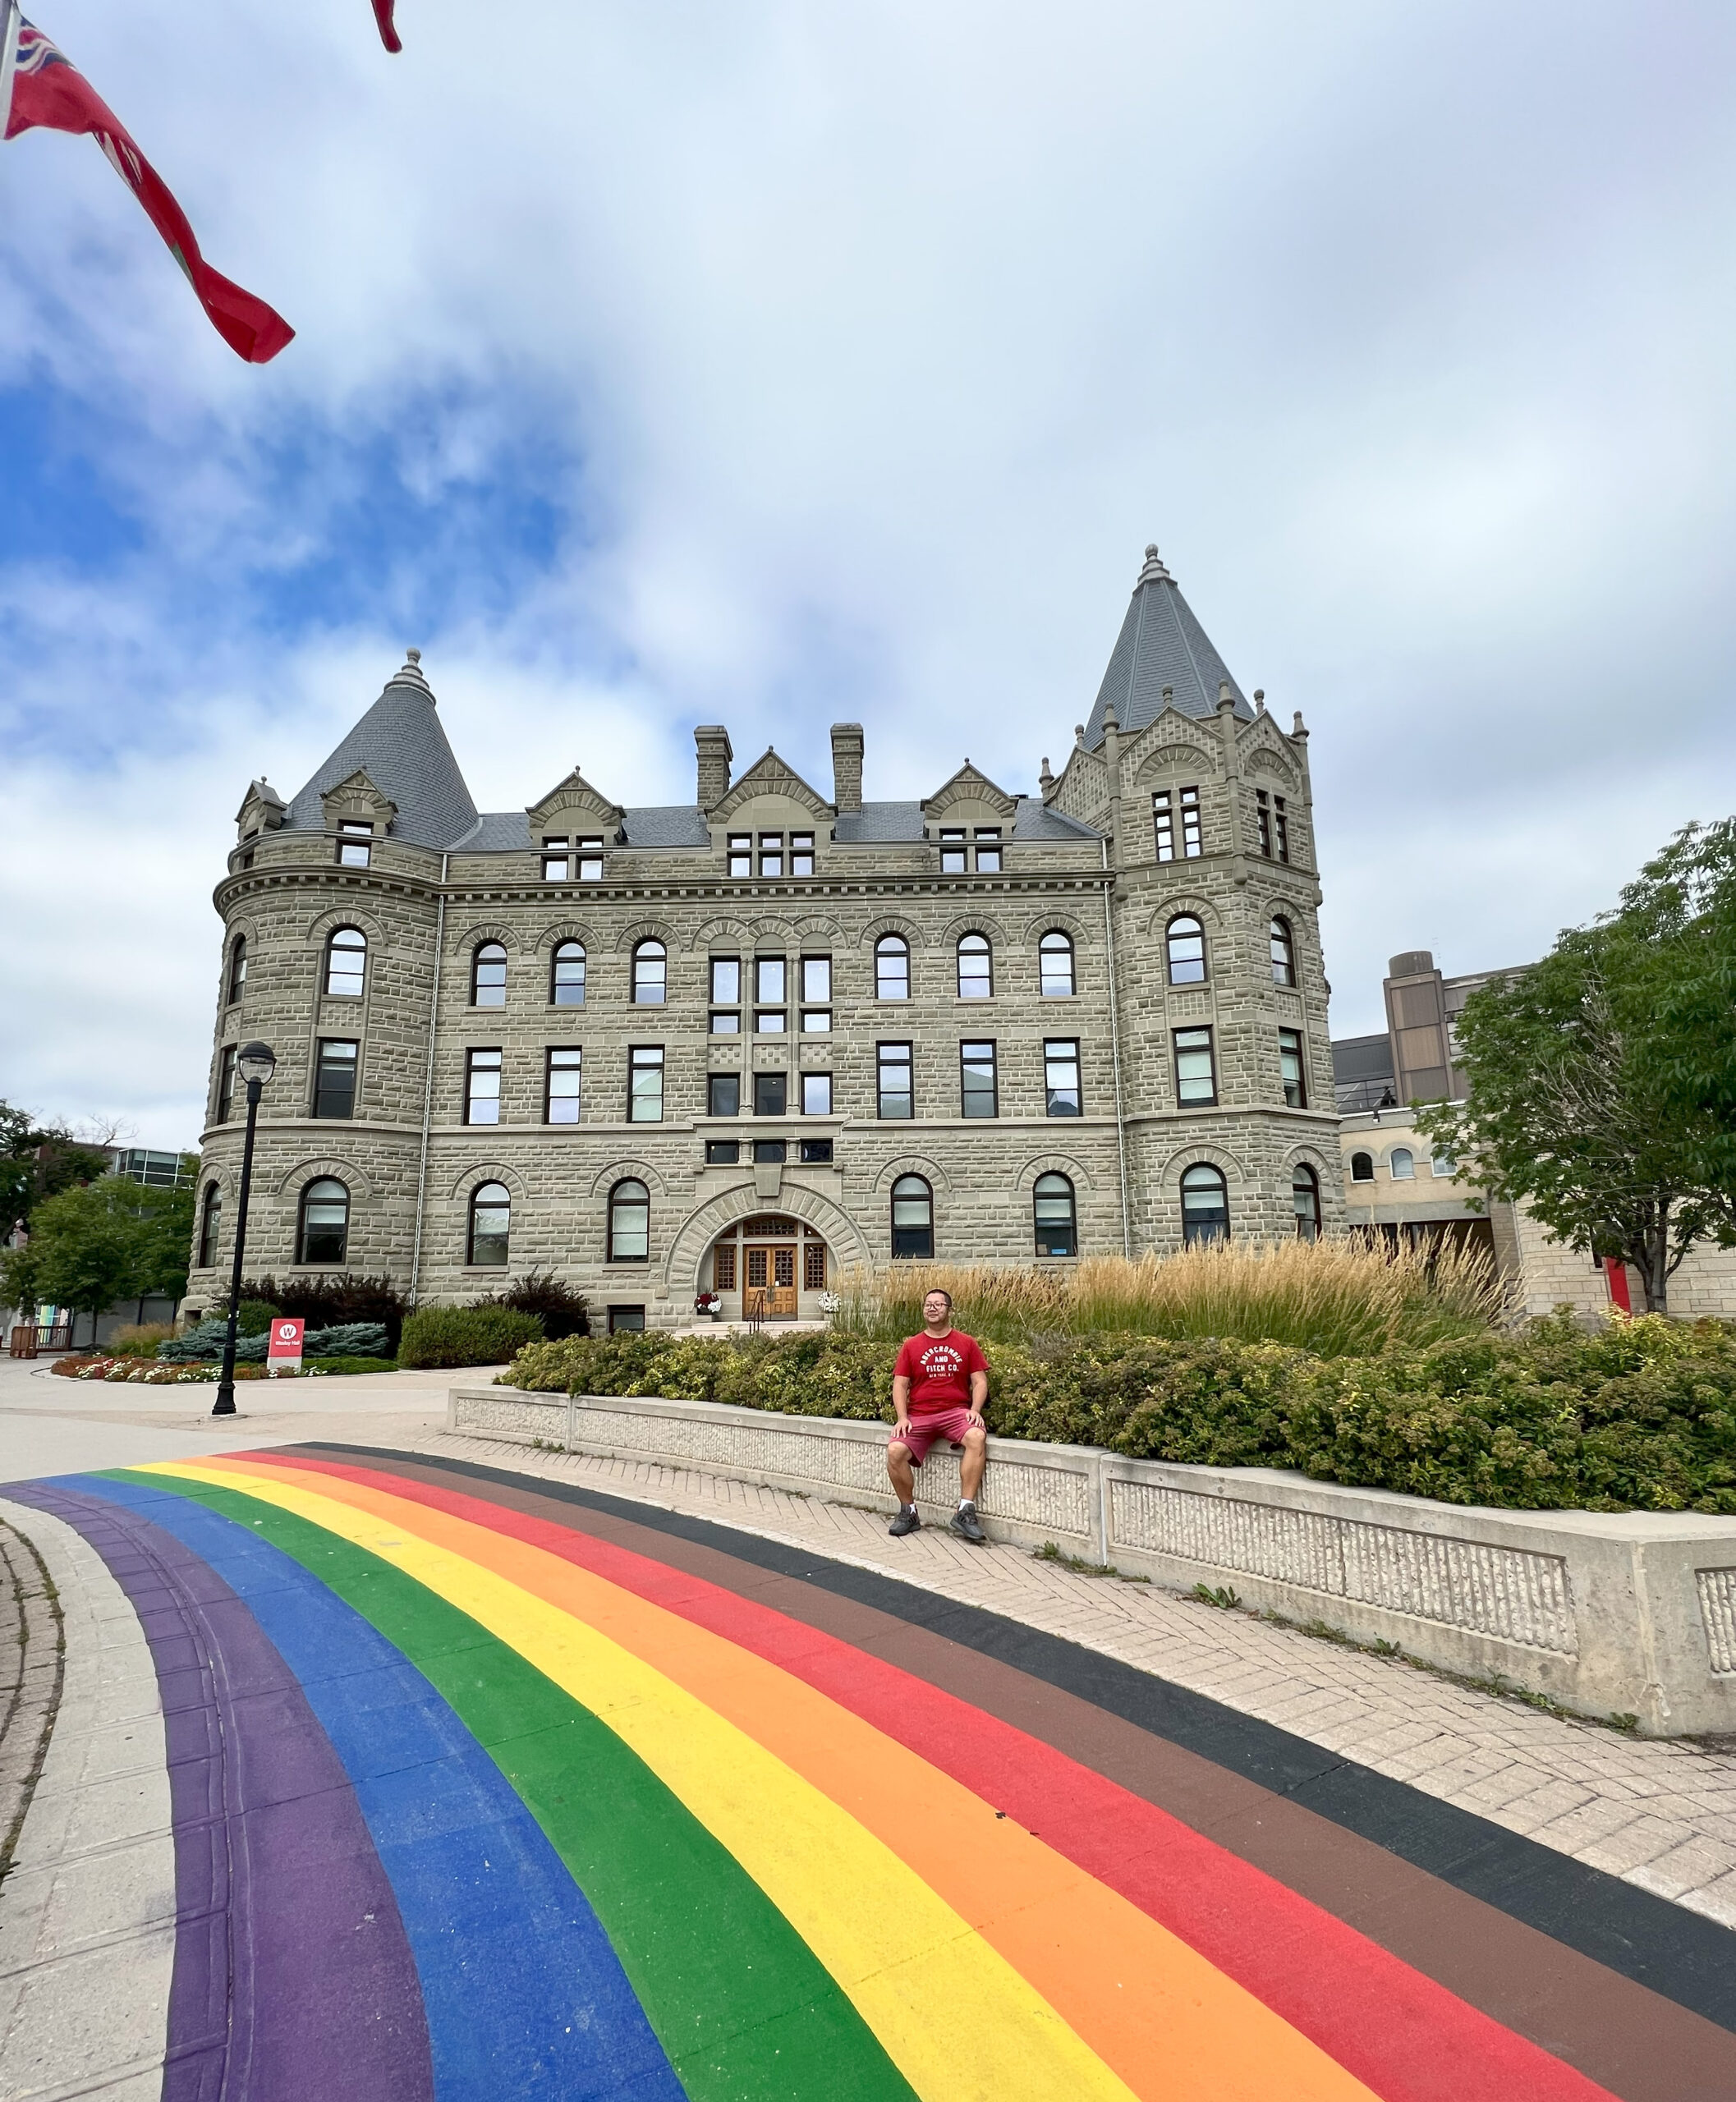
Press "Enter" to skip to content

月与灯依旧 Posts

Javascript Array

Handle element in an Array

const hobbies = ["sports", "cooking", "reading"];

console.log(hobbies[0]);       # Get single element

hobbies.push("surfing");       # Add new element to the end
hobbies.unshift("movies");     # Add new element to th start

hobbies.pop();                 # remove the last element
hobbies.shift();               # remove the first element

Find element

const index = hobbies.findIndex((item) => {
    return item === "reading"
});
console.log(index);

A shorter code:

const index = hobbies.findIndex((item) => item === "reading");
console.log(index);

// Result
2

Find an element in Object

const inventory = [
  { name: "apples", quantity: 2 },
  { name: "bananas", quantity: 0 },
  { name: "cherries", quantity: 5 },
];

const result = inventory.find(({ name,quantity }) => name === "cherries");

console.log(result); 

// Result:
 { name: 'cherries', quantity: 5 }

find() method ONLY returns the first element in the provided array that satisfies the provided testing function

Filter

const words = ['spray', 'elite', 'exuberant', 'destruction', 'present'];
const result = words.filter((word) => word.length > 6);

// Result:
["exuberant", "destruction", "present"]

Iterate Array

const newHobbies = hobbies.map((item) => item + "!");
consoloe.log(newHobbies);

// Result
(3) ["sports!", "cooking!", "reading!"]

Combine Array

const numbers = [1,2,4,5];
const all = [...hobbies, ...numbers];
console.log(all);

// Result
(7) ["sports", "cooking", "reading", 1, 2, 4, 5]

Destruct an Array

const userName = ["John", "Ted"];

// Old School Way
// const firstName = userName[0];
// const lastName = userName[1];

// New Way
const [firstName, lastName] = ["John", "Ted"];
console.log(firstName);
console.log(lastName);

// Result:
John
Ted

We can also destruct an Object like this:

const {name,quantity} = { name: "apples", quantity: 2 };
console.log(name);
console.log(quantity);

// Result:
apples
2
Leave a Comment

Get Ubuntu release code name in Script

$ lsb_release -h
Usage: lsb_release [options]

Options:
  -h, --help         show this help message and exit
  -v, --version      show LSB modules this system supports
  -i, --id           show distributor ID
  -d, --description  show description of this distribution
  -r, --release      show release number of this distribution
  -c, --codename     show code name of this distribution
  -a, --all          show all of the above information
  -s, --short        show requested information in short format


$ lsb_release -a
No LSB modules are available.
Distributor ID:	Ubuntu
Description:	Ubuntu 22.04.3 LTS
Release:	22.04
Codename:	jammy


$ lsb_release -sc
jammy

$ lsb_release -sr
22.04

Use it in Shell Script

echo "deb http://apt.kubernetes.io/ kubernetes-$(lsb_release -sc) main kubernetes-$(lsb_release -sc) main" | sudo tee /etc/apt/sources.list.d/kubernetes.list
Leave a Comment

大学回忆录之2023

真不敢相信, 今天是我在这所大学的 last day.

好像昨天还是刚刚入学的日子一样, 时间, 过的真是快啊.

同学们陆陆续续的散去, 这个陕小的教室也终于安静下来了

我是这么的不愿意离开, 这里的回忆简直太多了

初见

那个好看的尼泊尔同学, 名字叫Dipesh, 每次从我身边经过的时候, 我都会偷偷打量他. 每次都在作业的 due date 前一天, 他也会准时在whats app上找我帮忙, 我也很乐意帮忙, 谁叫人家长的好看呢

坐在对角的哥伦比亚大龄同学, 每次路过我的座位的时候, 都要双掌合十, 然后喊我一句”master”

还有我前面那位印度大胡子同学, 叫什么Pavit的, 每次回头看我, 嘴里都要哼着一句我听不懂的印度歌曲, 好像叫什么faya kun的, 这位大胡子同学每次课堂上咳嗽的时候, 嘴里也会小声说一句sorry.

另外一位尼泊尔的同学, 自从我教会了他 how to say fuck you in chinese 以后, 每次见面, 他都要说一句”草拟”…

哦对了, 那位哥伦比亚同学, 也教过我 how to say fuck you in spanish, 好像是什么类似于 ‘budha’ 的发音. 有一次我在休息区说了一句 budha, 他们吓的全跑开了, 也不知道为啥

还有一次, 我记得那是一节 Programming basic 课程, 一个胖胖的男老师, 虽然很胖, 但是眼神里却透露着一股子凶恶的感觉. 那次, 也不知道讲到哪个知识点了, 大胡子 Pavit 同学当场拿着 ChatGPT 的结果上去提出了疑问… 结果, 课间的 Break time 之后, 这位”凶恶”的男老师再也没有回来了…. 后来还是教学主任出马, 把他请了回来. 当然, 不是请回了教室, 只是改为了远程上课了…

还有那个高贵冷艳的 Indigeneous 女生, 平时也懒得搭理我的, 最后的 e-commerce project 却跟她分到了一组, 当时觉得天都塌了, 没想到在做 Project 的时候, 她竟然异常的热情…

太多的回忆了, 数都数不过来…

自己一直是个极其怀旧的人, 大家都走了, 我还一个人坐在这个空荡荡的教室里, 舍不得离开

在这间教室的一年, 是我人生中技术领域进步最快的一年了

也许上北美的老师都很负责吧, 又或者同学们都太努力了, 这一年在各种 Project + Assignment + Quiz 的轮翻轰炸下, 我也算是入了前端的门了. 虽然还是很菜, 但至少, 现在有了能自己写 WordPress 主题的能力了, 也能写出一个简单的 CMS 了. 收获还是大大滴.

3 Comments

The easiest way to build a http/ftp server with Python

Build a HTTP Server

# Python2
python -m SimpleHTTPServer PORT

# Python 3
python -m http.server PORT
python -m http.server PORT --bind example.com

Build a FTP Server

pip install pyftpdlib

python -m pyftpdlib -p 21    # notice: it's ftpd, not ftp

# if you want a username and password
python -m pyftpdlib -u USERNAME -P PASSWORD

A powershell script could run in Windows

place a file named “ftp.ps1” with the following content:

Set-ExecutionPolicy RemoteSigned -Scope CurrentUser
Set-Location -Path D:\Download
Start-Process -NoNewWindow python --version
python -m pyftpdlib -p 21 -u USERNAME -P PASSWORD
Read-Host -Prompt "Press Enter to exit"

and then run with Powershell

Advanced Usage

from pyftpdlib.handlers import FTPHandler
from pyftpdlib.servers import FTPServer
from pyftpdlib.authorizers import DummyAuthorizer


authorizer = DummyAuthorizer()
authorizer.add_user('python', '123456', 'F:\\Working~Study', perm='elradfmwM')
handler = FTPHandler
handler.authorizer = authorizer


server = FTPServer(('0.0.0.0', 8888), handler)
server.serve_forever()

Reference
https://blog.51cto.com/phyger/5182139

Leave a Comment

pproxy简单介绍

pproxy是一个简单的小工具, 顾名思议它是一个临时的代理小工具. 下面介绍其使用方法.

安装

服务端和客户端都可以使用如下方式进行安装

pip3 install pproxy

服务端运行

pproxy -l ss://aes-128-gcm:MyPassword@:3389

客户端运行

客户端简单运行

pproxy -r ss://aes-128-gcm:MyPassword@ServerIP:3389 -vv

然后客户端会提示”Serving on :8080 by http,socks4,socks5″.

客户端建立http代理

sudo pproxy -l http://127.0.0.1:8080 -r ss://aes-128-gcm:MyPassword@ServerIP:3389 -vv

然后客户端会提示”Serving on 127.0.0.1:8080 by http”.

客户端建立DNS tunnel

由于ss(AEAD)协议不支持udp, 因此我们只能换用socks5或者tunnel (raw socket)协议来支持udp.

服务端:
pproxy -ul socks5://0.0.0.0:3389

客户端:
sudo pproxy -ul tunnel{8.8.8.8}://127.0.0.1:53 -ur socks5://ServerIP::3389 -vv

然后客户端会提示”Serving on UDP 127.0.0.1:53 by tunnel”, 可以在客户端使用dig @127.0.0.1 dropbox.com检验tunnel效果.

1 Comment